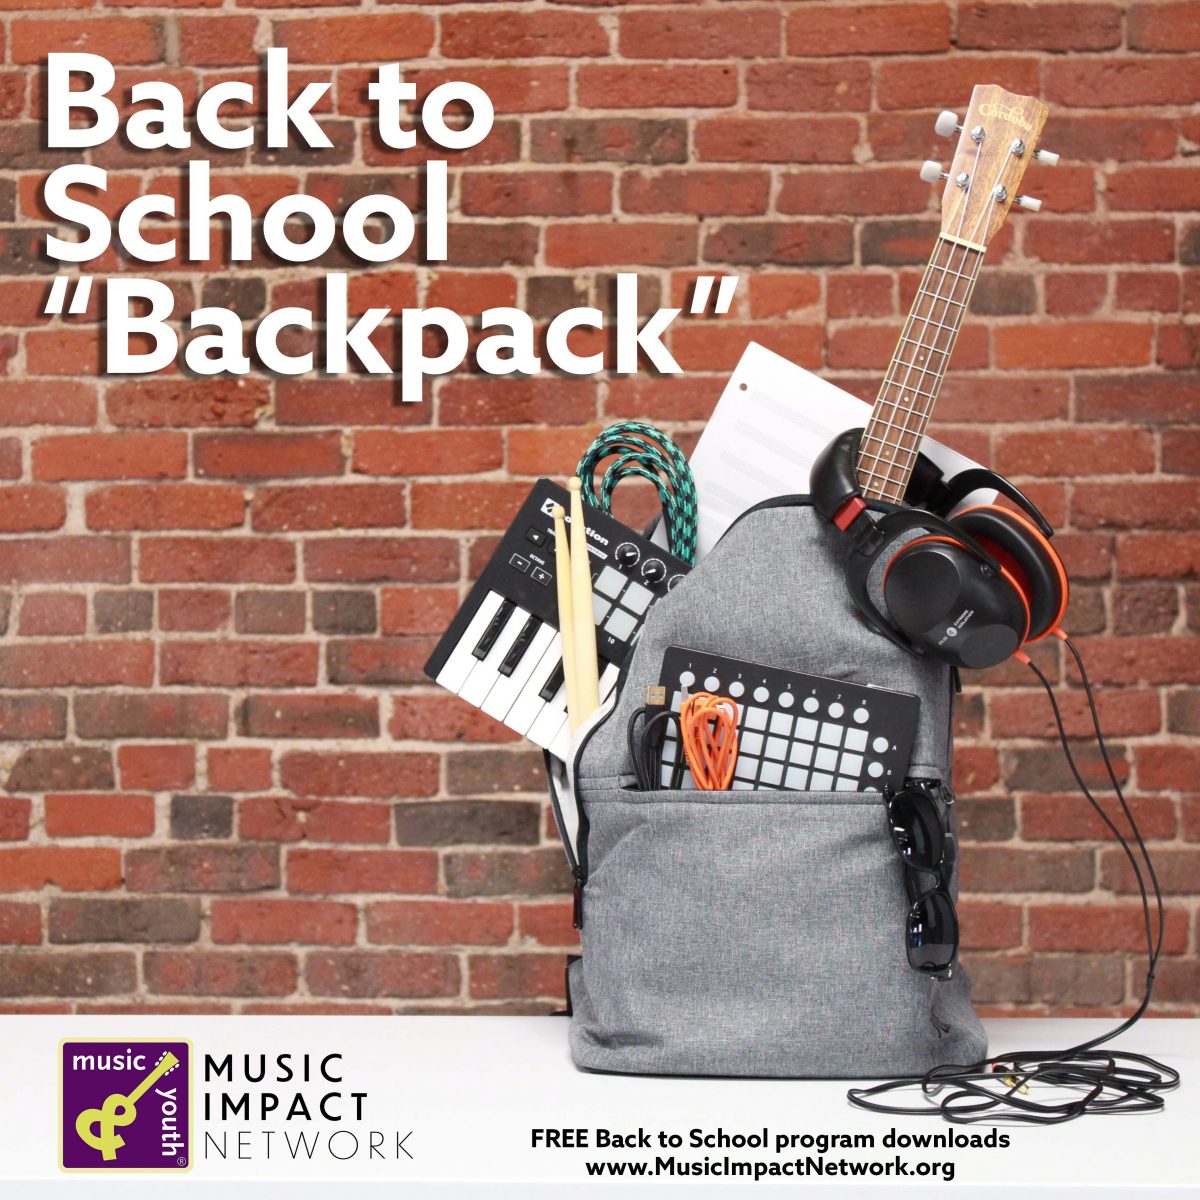
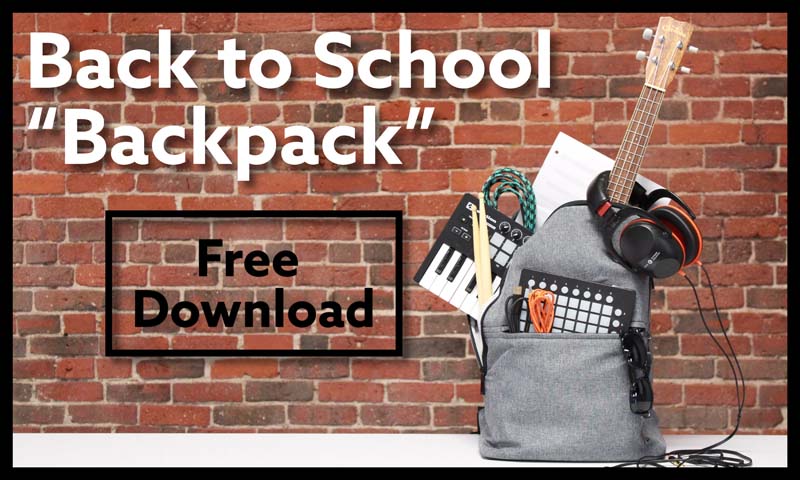
To download the full, Back to School “Backpack” – Click here:
Or… Download by individual links or categories below:
Icebreakers
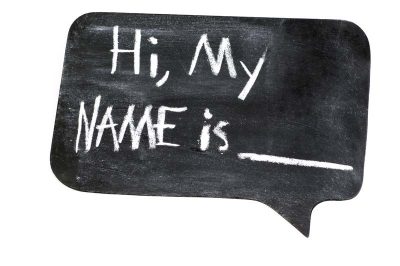
Name game icebreaker using rap
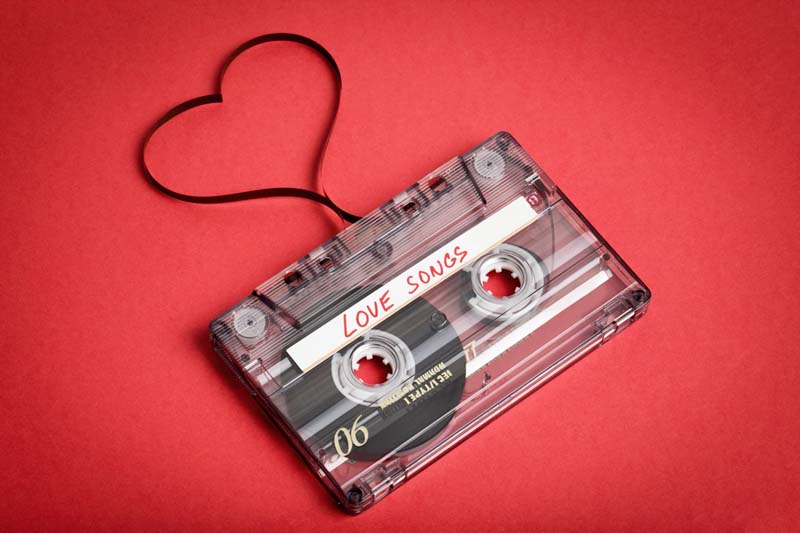
Test your knowledge of commonly used lyrics in love songs
Debate and defend your favorite top 10 songs

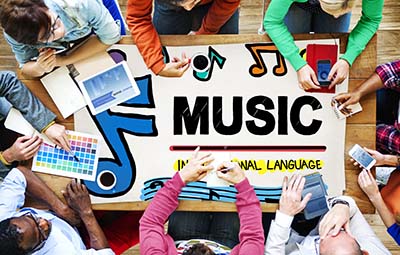
Big group icebreaker where music is the common language
| Be one of the “Cool kids” – download all of the Icebreakers – Click Here: |
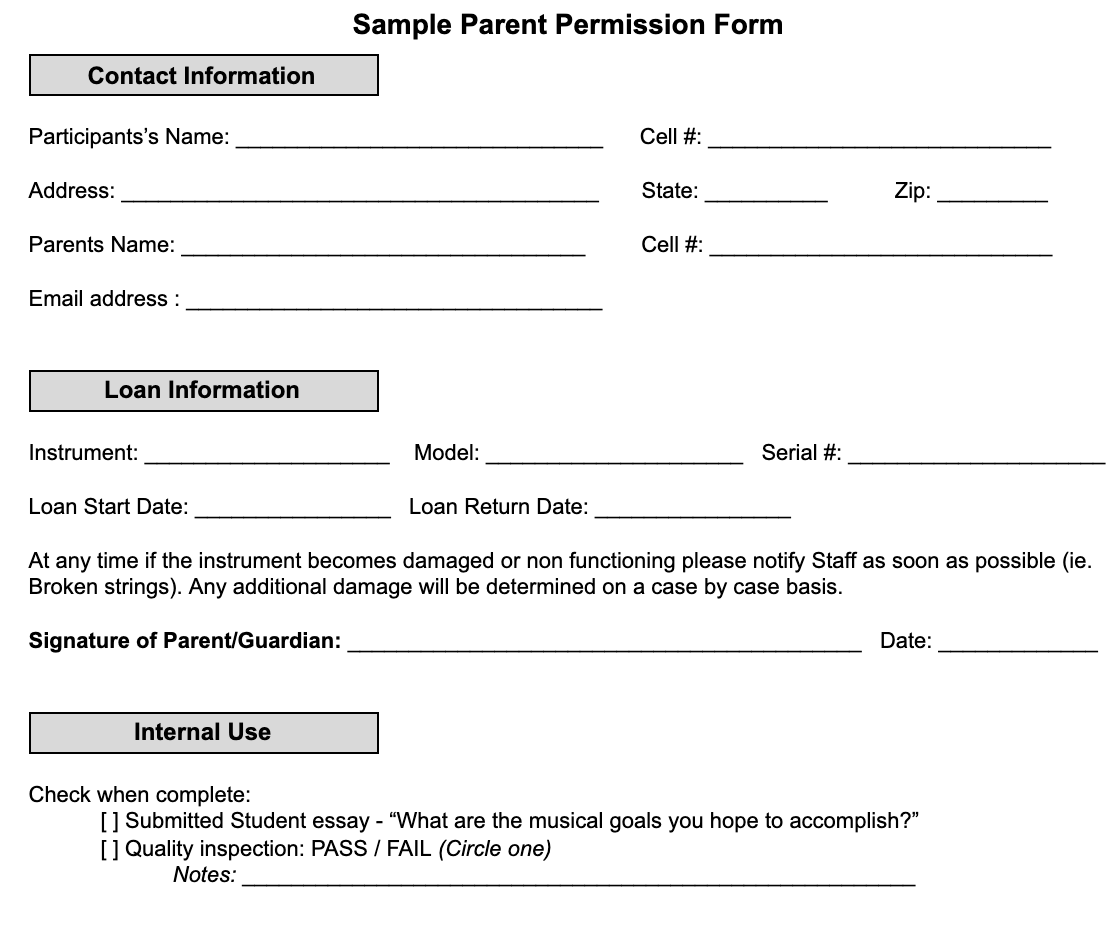
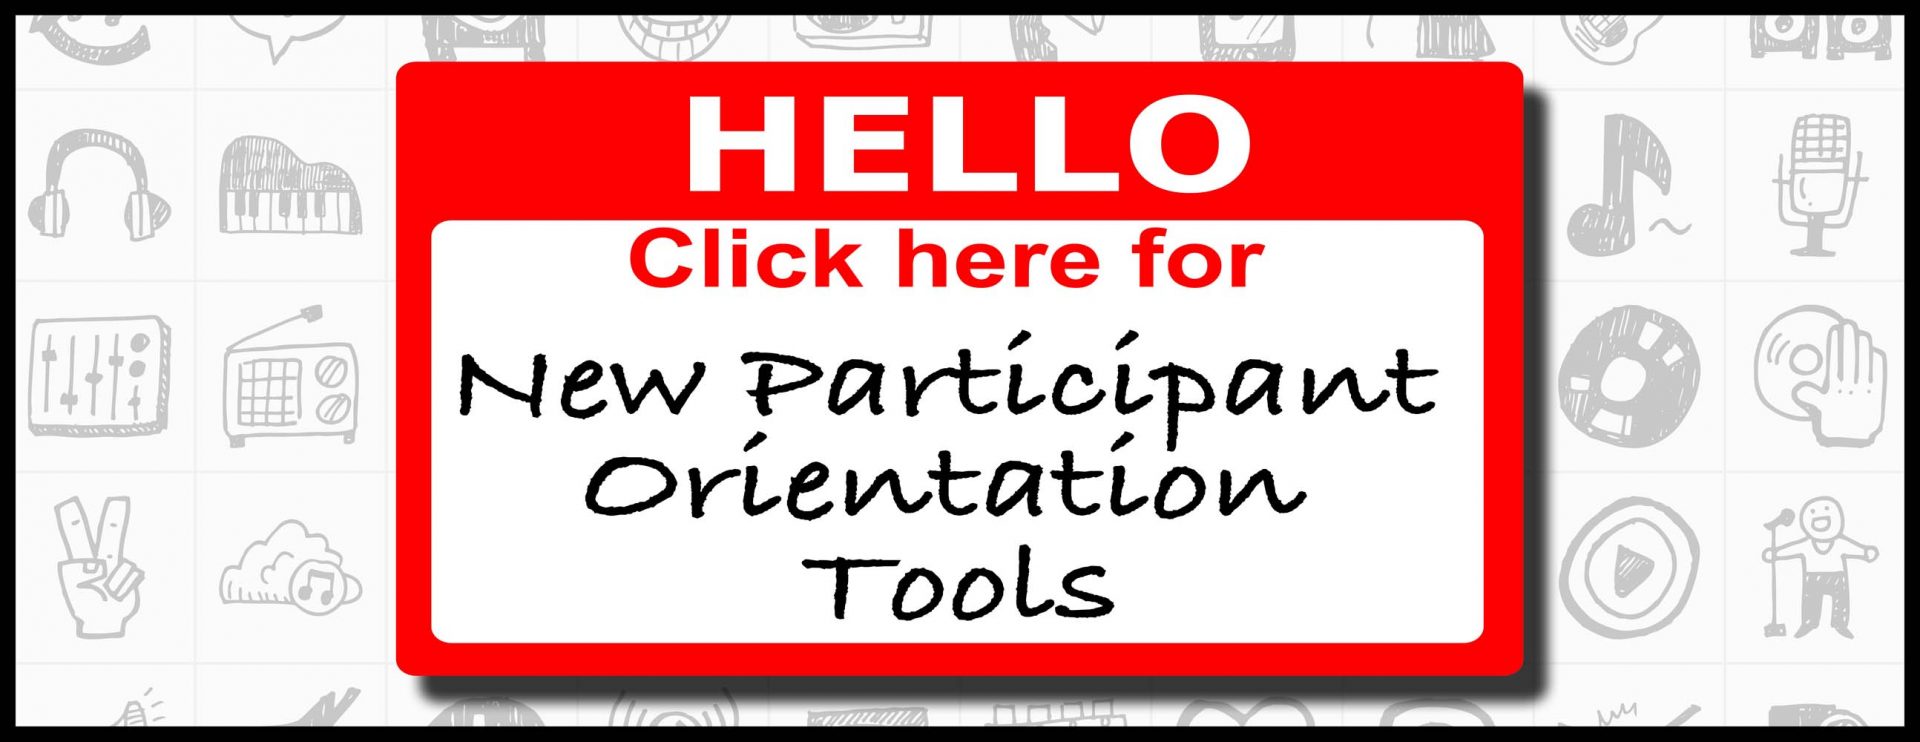
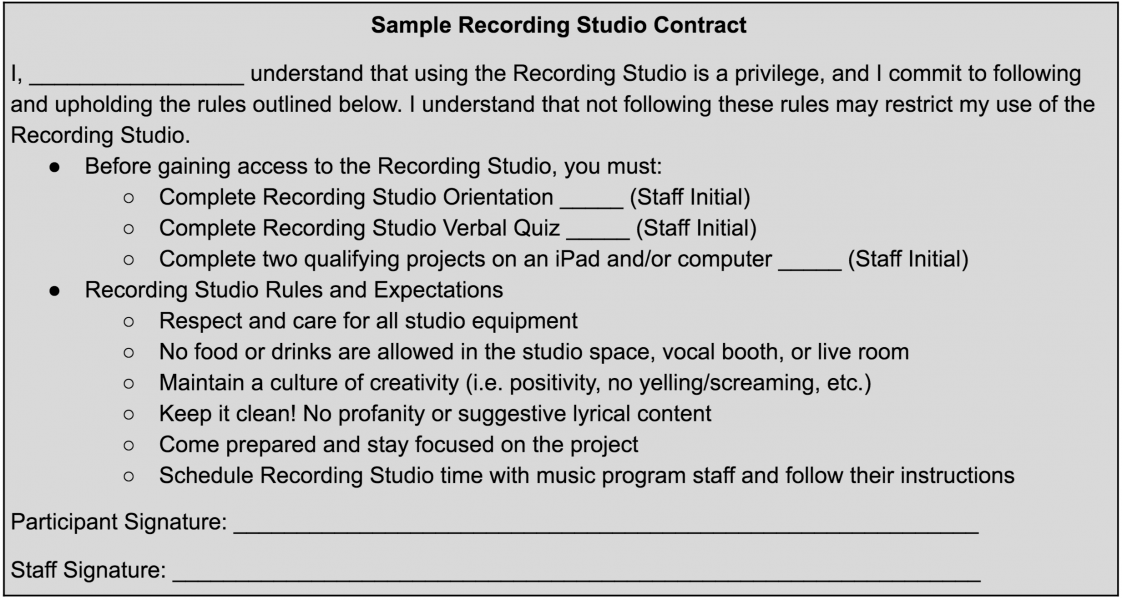
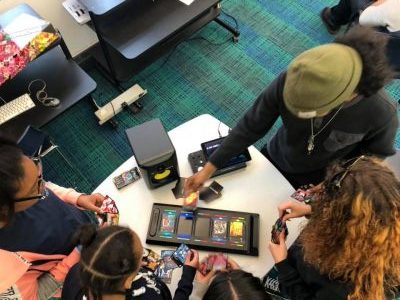
New Participant Orientation
New Participant Orientation Process
Welcome new participants and get them making music right away!
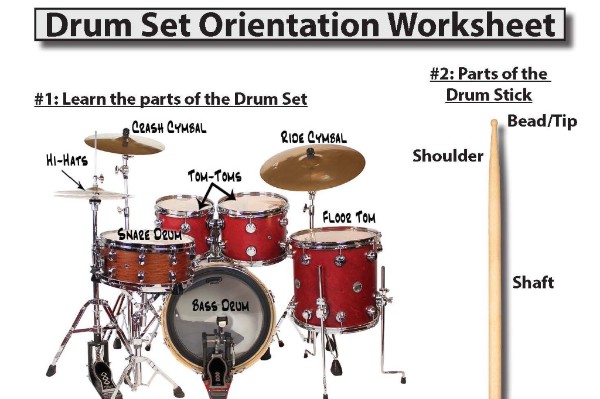
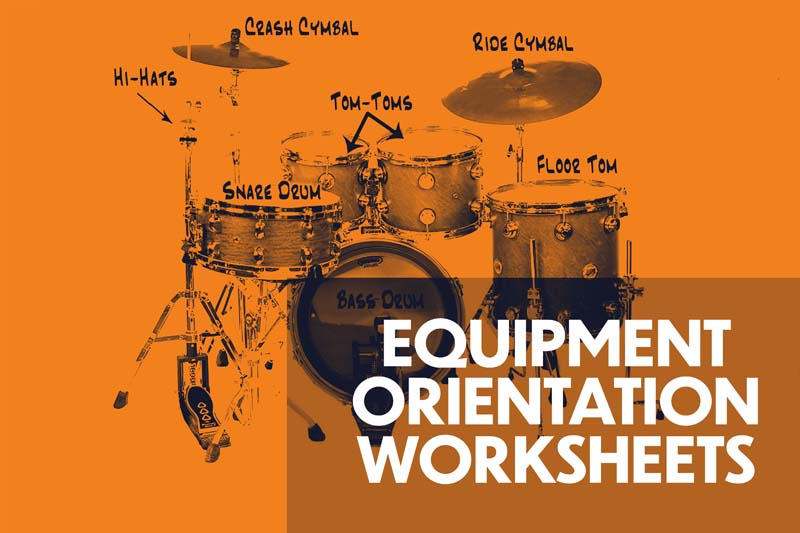
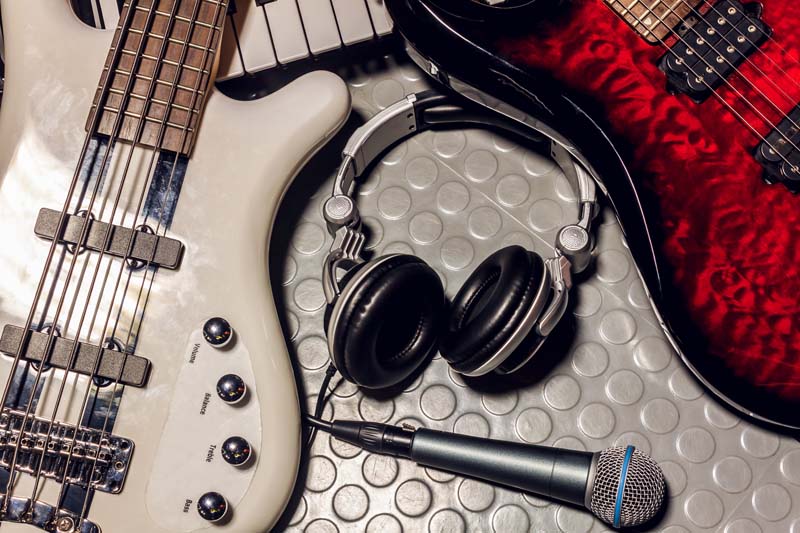
Equipment Orientation Worksheets
Quick start worksheets for beginners
| Welcome your new participants – download all the New Studio Orientation tools – Click Here: |
Programs, Projects and Performances
Help your participants earn a musical “black belt”

Very Important Participants become Virtuoso Instrument Players!
Participants earn studio privileges while improving their studio skills!
How to Address Inappropriate Language
Five ways to clean up inappropriate language that you’ll swear by!

Channel your inner “Milli Vanilli” while learning stage presence
Healthy competition that encourages collaboration, talent and self-esteem
| Be Prepared – Pack your bag with the latest program ideas – Click Here: |
Essential Supplies
NOTE: Any featured products are based on the experience and opinions of Network members and Music & Youth. We do not receive any financial benefit from the vendors to promote their products. We just thought they were helpful and you might like ’em.
Part game, part DJ mixer, part ear-trainer… ALL fun!

Rhythm Roulette (Using Splice)
Random samples equals endless beat making creativity
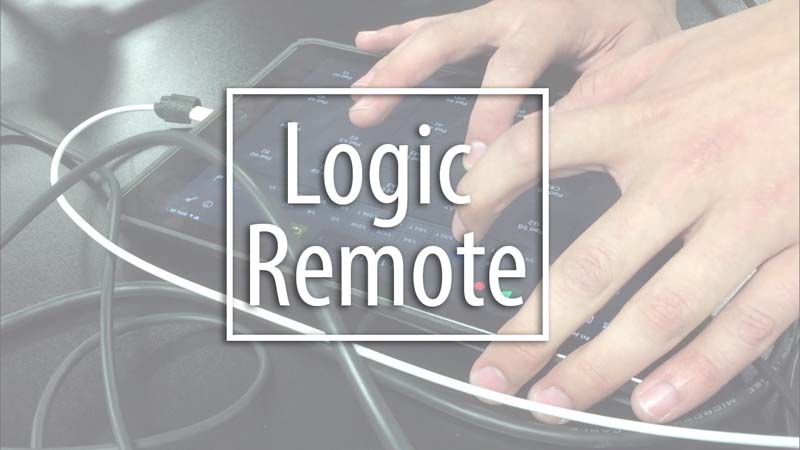
Logic Remote as a Midi Control Surface
An iPad works as a control surface to make beats like a pro
| Back to school shopping time –download all Essential Supplies – Click Here: |
 |
| It’s not cheating… Go ahead, just download the whole thing – Click here: |