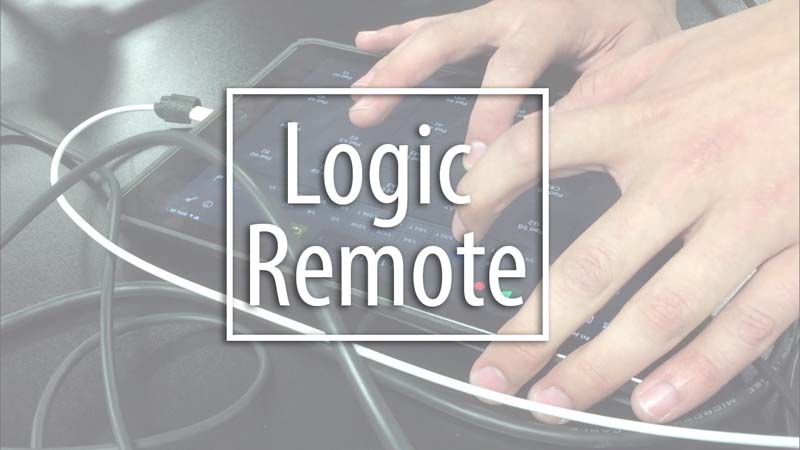
Turn an iPad into a digital control surface and make beats like a pro
Some participants can be intimidated by the recording studio equipment and process. Empower them by using a tool they are comfortable – iPads and Logic Remote can be used as a control surface to make beats and help participants take control of the recording process. Whether they’re using the transport to record themselves from within the vocal booth, using the iPad as a “second screen” to multitrack mix in the control room, or using the iPad to program drum beats and chord progressions, Logic Remote is a versatile way to make the recording process more accessible to everyone!
Read More
How to…
Download Logic Remote on iTunes App store (this is a Free App)
Launch your Logic Session and pair Logic Remote to your computer (must be on the same network)
FYI: Logic Remote also works with Garageband
Use your iPad as a “second screen” or a “midi” control surface for your session using these helpful features (and more):
Beat making/songwriting:
Drum Pads – digital trigger pads are a tactile way for participants to program in their kick and snare tracks. It also has a “Kits” view which is more visual drum set
Note Repeat – perfect for creating authentic sounding trap music “sprinkler hi hats”
Chord Strips – Similar to “Smart Chords” in Garageband, this is an easy way to write chord progressions. Participant can focus on quickly getting their ideas fleshed out without having to worrying about music theory
Keyboard – copying the root motion of the Smart Chords progression, participants can easily add a bass line or synth layers. It also has “Fretboard” features if you prefer
Navigation and Mixing:
Key Commands – Frequently used recording functions like: Recording Transport, Save, New Track, Automation, etc
Mixer – great way to add a “second screen” that gives participants a tactile way to move digital faders during mixing/mastering
Participants earn studio privileges while improving their production skills!
The Music Producer Incentive System motivates participants to learn more in the studio by creating 3 levels of “Producers”. As participants advance, they learn studio software and techniques and “level-up” to earn additional studio privileges.
How to…
First, set up various levels of Music Production workstations and/or studios in your program space.
For larger Music Studios, this could include various physical studios and/or workstation setups (e.g. Studio A, B, C, etc. in separate rooms)
For smaller Music Studios or single-room studios, consider limiting access to programs, software, and recording equipment (further described below)
All participants start on the most basic setup and “level-up” to more sophisticated studios (or equipment) as they learn more skills. For example:
“Studio A” – iMac or iPad Workstation equipped with Garageband (Headphone based)
“Studio B” – iMac Workstation with Logic and basic interface/mic setup (with speakers) located inside of a practice room
“Studio C” – Professional level project studio, complete with Logic/ProTools, vocal booth, and your program’s most advanced recording studio equipment
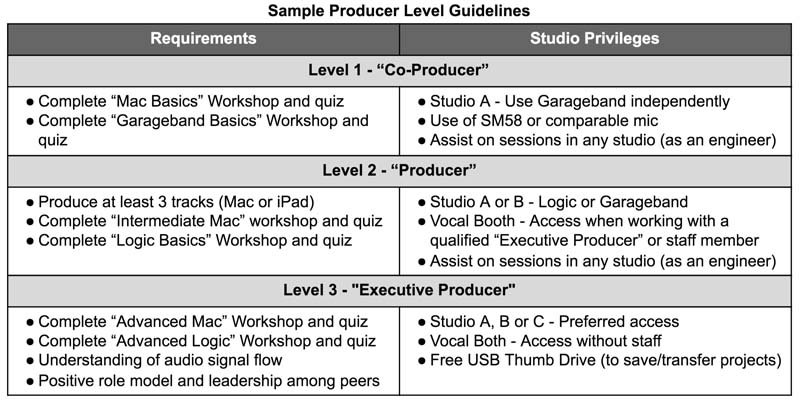
Determine what skills participants must demonstrate in order to gain access to each studio. Print and display the requirements for each level of “producer” (Sample levels are provided below)
Create an incentive chart to visually track and help motivate participants’ achievements. Regularly post and update the names of each “Co-Producer”, “Producer” and “Executive Producer”