Give your participants access to instruments while at home
Covid-19 has been disruptive to many after school programs and many participants can’t afford to have instruments at home. Give your participants access to instruments and production equipment to help them continue to make music at home. The types of instruments have been specifically selected for at home use and can help music program staff implement virtual lessons and projects.
NOTE: Any featured products are based on the experience and opinions of Network members and Music & Youth. We do not receive any financial benefit from the vendors to promote their products. We just thought they were helpful and you might like ’em.
Best Instruments for At-Home Use:
| Music Production Package – $220 Focusrite Scarlett Solo Studio Recording Bundle |
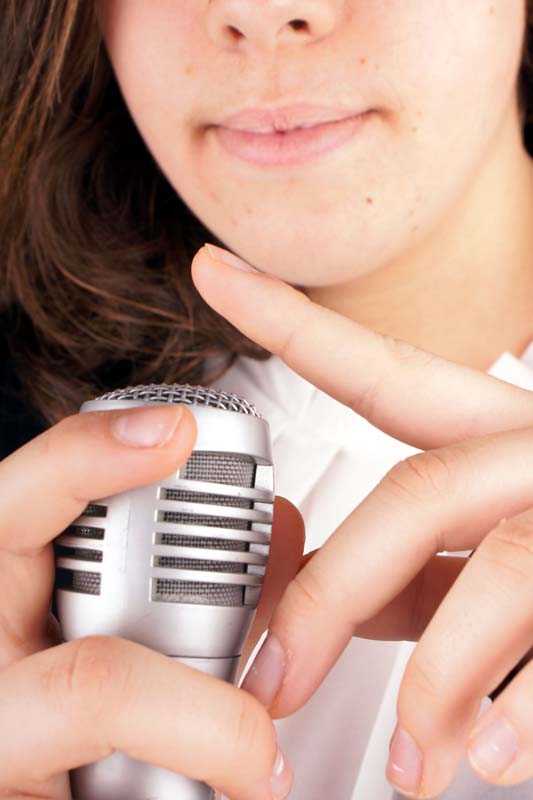
| Singer/songwriter Package – $150 Shure MV5 Digital Condenser Microphone Bundle |
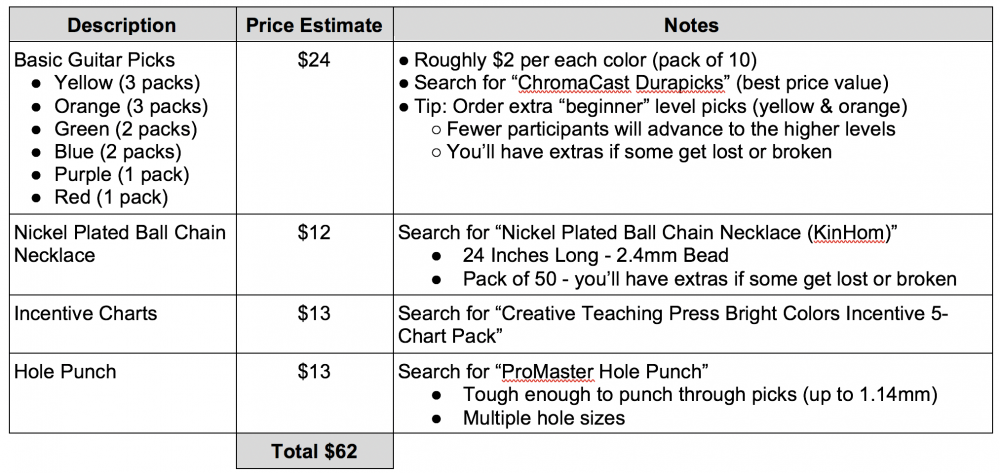
| Acoustic Guitar Package – $170 Yamaha JR1 (w/bag) – ($150/ea, Tuner – $10/ea, Picks – $3.50/pack, Strap $6/ea) |
| Ukulele Package – $60 Kala Ukulele Starter Kit |
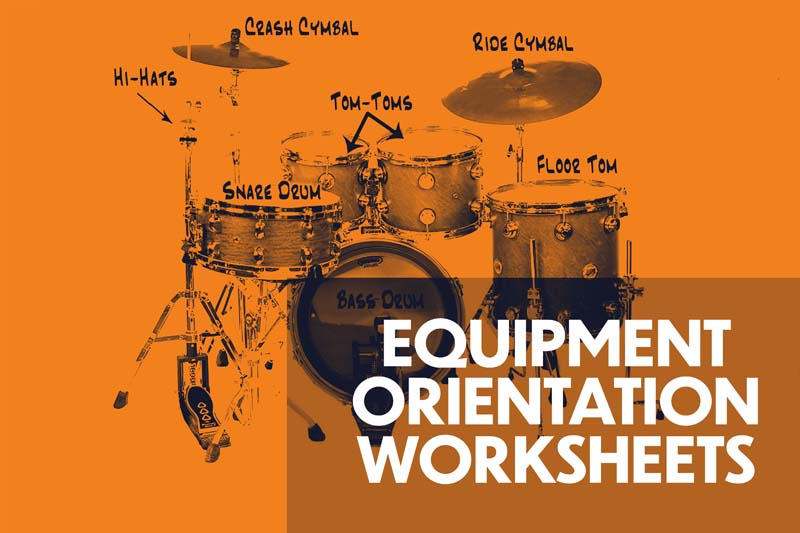
| Drummer Package – $160 Pyle PTED06 Electronic Drum pad or… Drum pad/sticks Kit – $25 Evans RealFeel Drum Pad and Drumsticks |
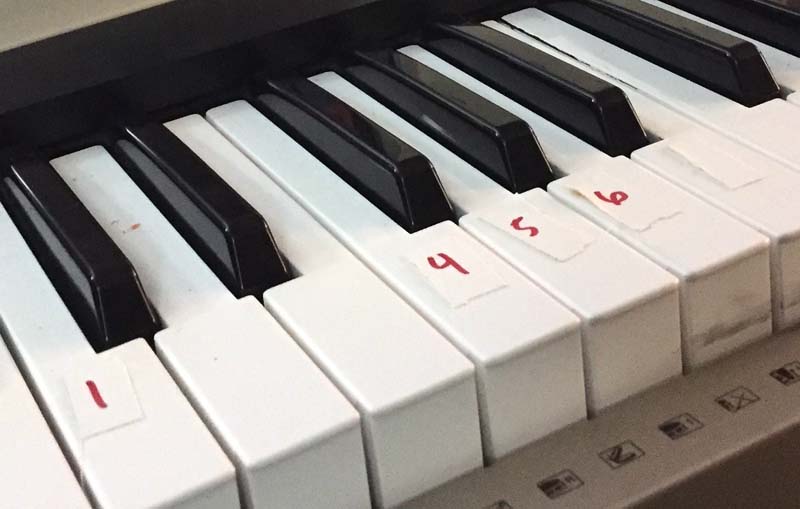
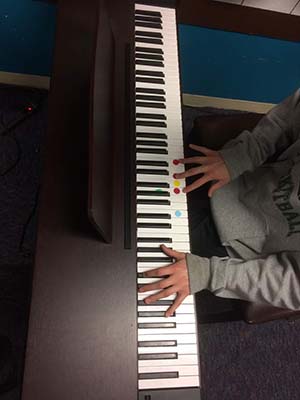
| Digital Piano Package – $120 Casio Casiotone CT-S200 |
Example Requirements – Below are some examples that other organizations have used – Customize the requirements to meet your needs:
- Permissions – Parent Permission and registration materials (see sample below)
- Participation – Participation in virtual workshops and performances and 150-word essay answering – “What are the musical goals you hope to accomplish?”
- Equipment – Participants and parents assume responsibility of caring for instruments and damage (other than general wear and tear) and Prompt return at Loan Due Return Date
Read More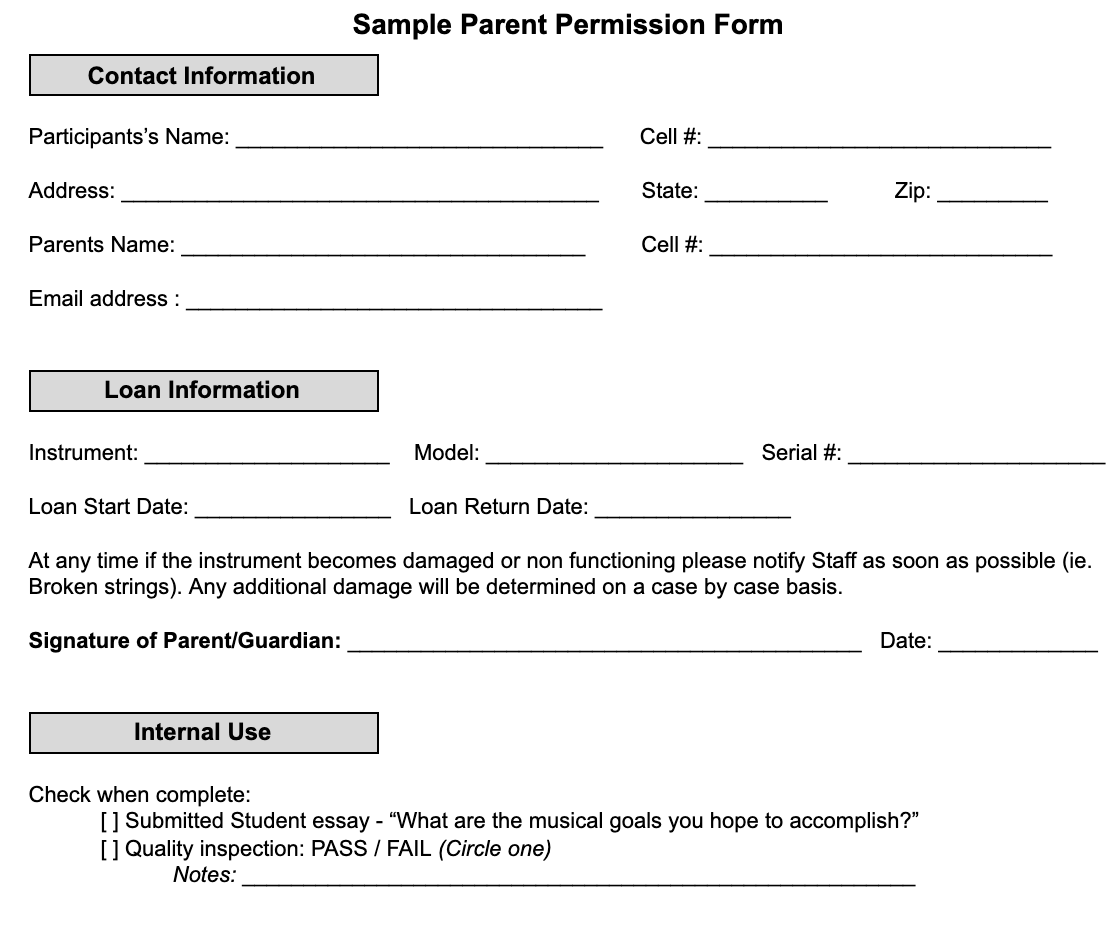
| To download a full, editable version |
Explore similar resources in Instrument Programming