Best practices for soundproofing your Music Studio rooms
Soundproofing refers to the noise transfer from one room to another. To control the amount of sound transfer between rooms within your Music Studio and between your Music Studio and adjoining spaces in your building it is best to think about the following:
Use dense and air-tight materials.
Walls are the most soundproof part of the studio.
Alternatively, problem areas are:
Windows
Doors
Pipe or cable pass-through
Anywhere the wall is penetrated
Shared HVAC ductwork that interconnect rooms
Walls that do not extend to the structure above (floor, ceiling or roof)
Read More
There are two common methods for creating an effective soundproof environment:
#1 – Purchase a prefabricated vocal booths
We recommend installing a prefabricated vocal booth (such as www.whisperroom.com) in your recording studio.
Prefabricated vocal booths are a great solution for achieving a high degree of soundproofing and room acoustics.
They can be purchased in a variety of sizes and configurations depending on your needs.
#2 – Construct walls, ceilings doors and windows with the follow specifications in mind
Interior and exterior walls and ceilings. A best practice is to use dense and airtight materials.
We recommend extending a solid wall to the ceiling or roof above. If this is not possible, a “solid cap construction” ceiling (2 layers of wallboard) is recommended.
Drop ceilings are not recommended for Music Studio facilities.
Cinder blocks, poured concrete, or brick construction are ideal wall materials.
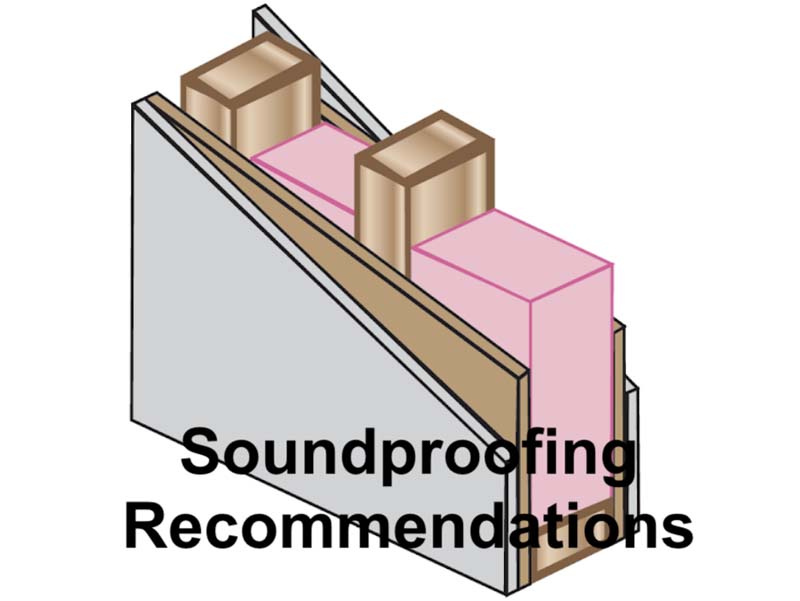
For new walls, we recommend a single stud wall with 2 layers of wallboard on each side of the studs:
Homosote sound board (inside layer)
5/8” gypsum board on the outside faces of the studs
Rockwool batt insulation in the stud cavity
Solid walls (no windows or doors) provide the highest level of soundproofing. Tips for optimizing areas that provide lower levels of soundproofing:
Windows – Ideally use double-glazed with thick lites (i.e. 3/8” to 1/2”) and a 2 to 4-inch air space in-between. One of the lites should be laminated, which provides sound reduction properties.
Doors – Use solid-core acoustical doors with non-adjustable neoprene gaskets (at the head and jambs), as well as an automatic drop seal at the threshold to provide the best sound isolation.
Pipes or cable pass-throughs – Avoid using these when possible. Tightly seal anywhere the wall is penetrated.
HVAC
If possible, use Packaged Terminal Air Conditioner & Heat Pump units (PTAC).
Forced hot air HVAC systems are not recommended in the recording studio rooms. If the existing facility uses forced hot air, you may need to contact a professional to help design a system that provides very low background noise conditions.
Avoid shared HVAC ductwork that interconnects between Music Studio rooms (especially recording studio rooms). Sound will travel through the ductwork transferring a significant amount of noise between rooms.
Audio Wiring and Connections – Audio equipment uses specialized cable connections and wiring. It is best to contract with an audio specialist to help determine the needs of your Music Studio. You may consider a cable pass-through like a “Wiremold 4000 large raceway cable channel.” This allows for a custom and organized way for interconnectivity between various rooms in a recording studio facility, but minimizes the sound that passes from one room to another.
NOTE: Any featured products are based on the experience and opinions of Network members and Music & Youth. We do not receive any financial benefit from the vendors to promote their products. We just thought they were helpful and you might like ’em.
Solutions to leverage your existing music equipment and make music anywhere
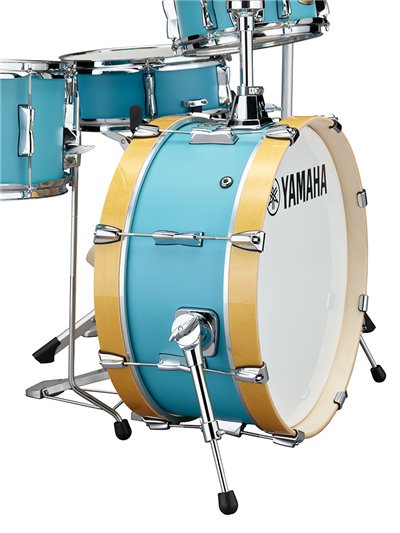
• Compact • 2-piece Acoustic Drum Kit (with 10″ Mounted Snare and 18″ Bass Drum) • Carrying Case • Works with your existing cymbals, pedals and hardware
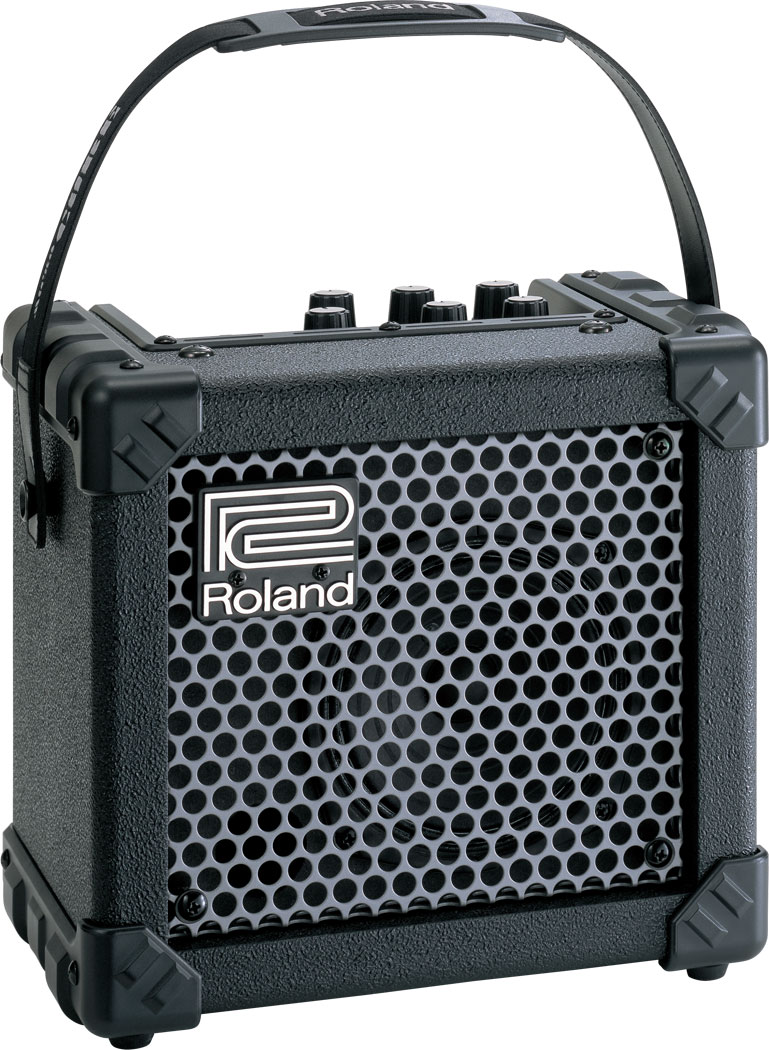
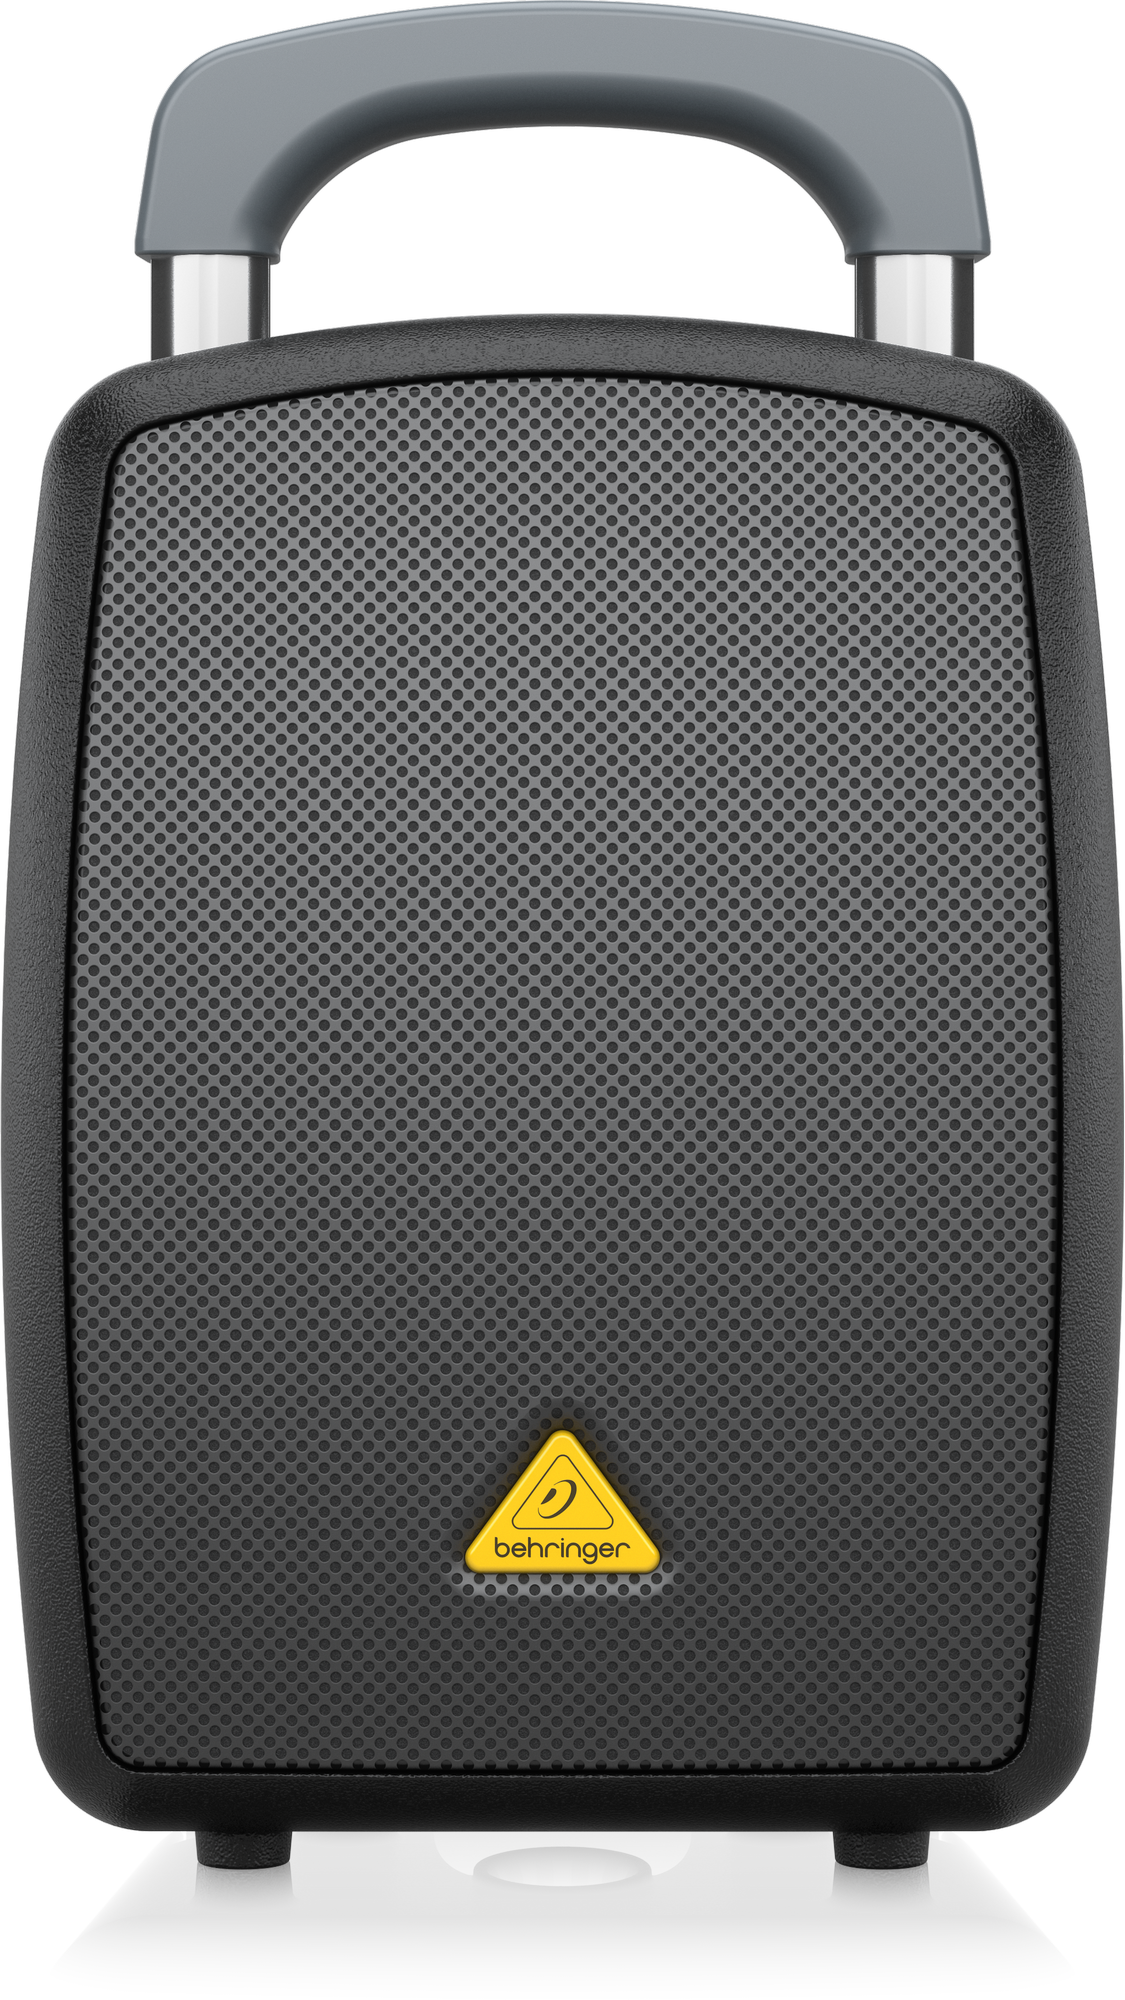
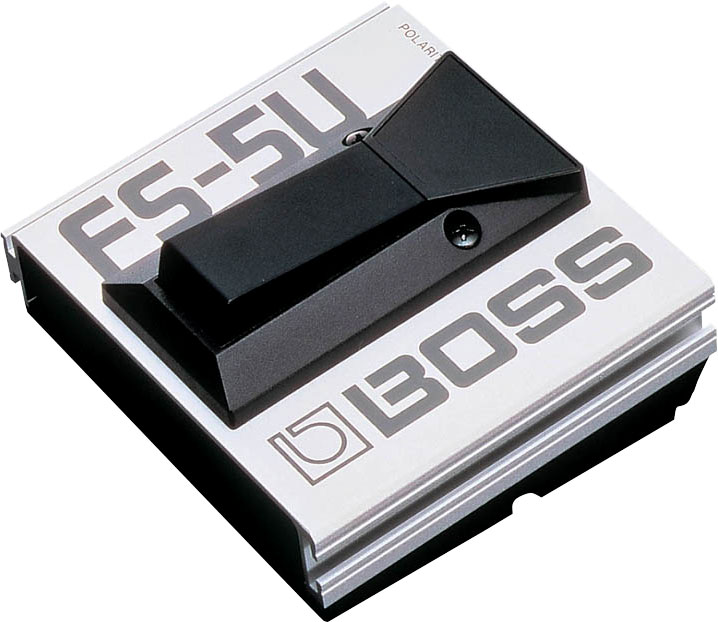
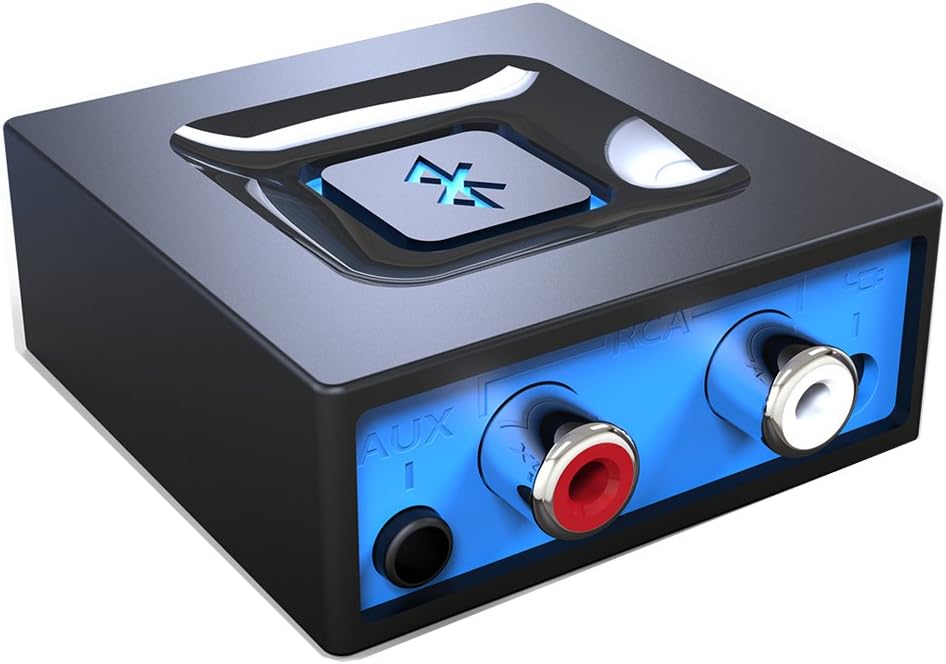
The Music & Youth Initiative team went to NAMM in search for new gear – Below are some products that we thought were interesting…
Check them out for your music program!
NOTE: Any featured products are based on the experience and opinions of Network members and Music & Youth. We do not receive any financial benefit from the vendors to promote their products. We just thought they were helpful and you might like ’em.
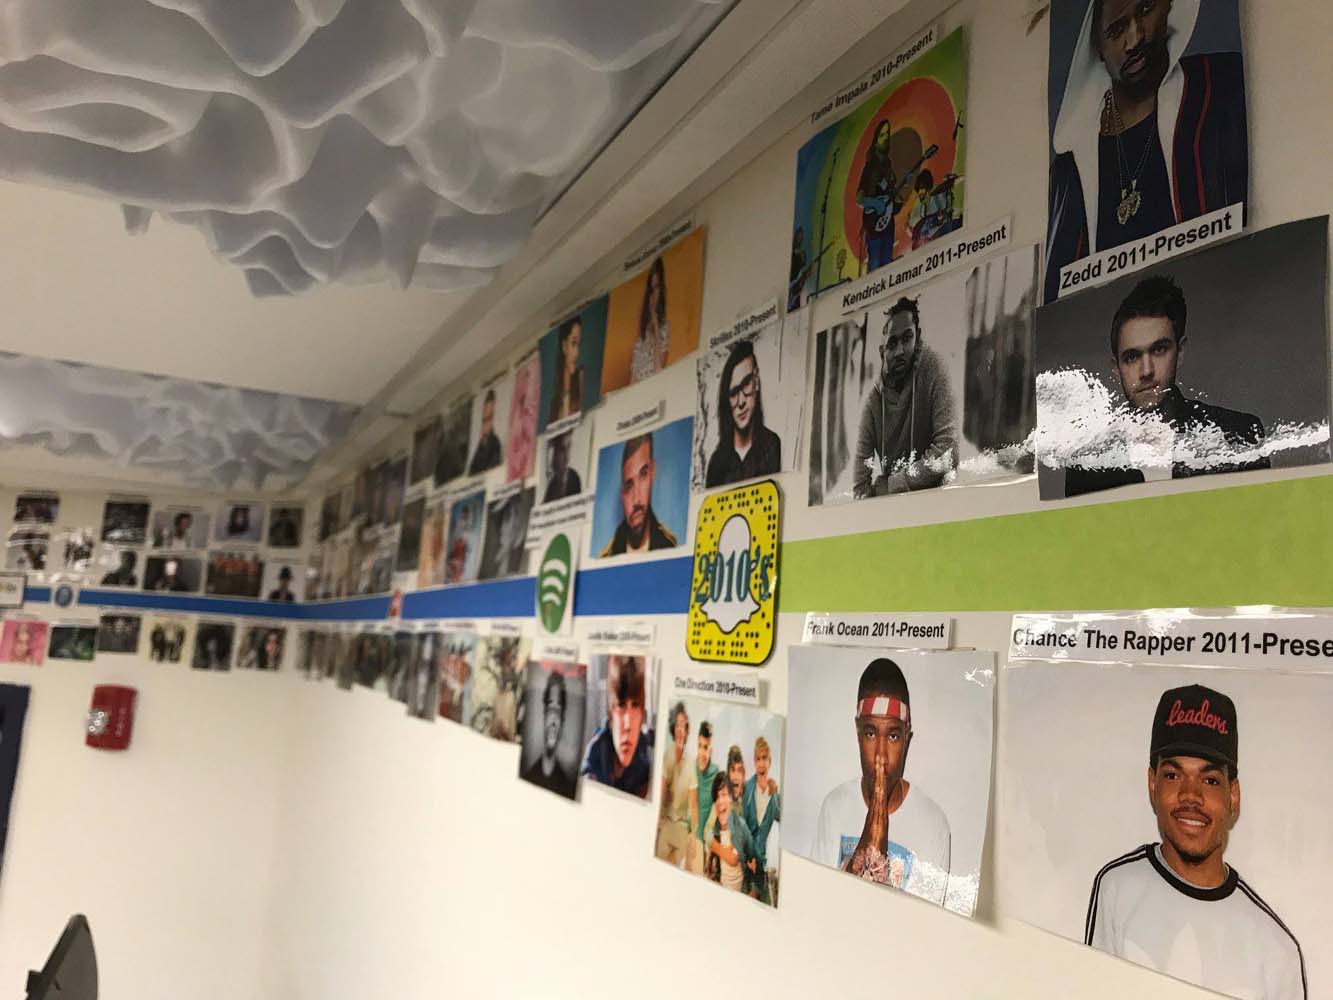
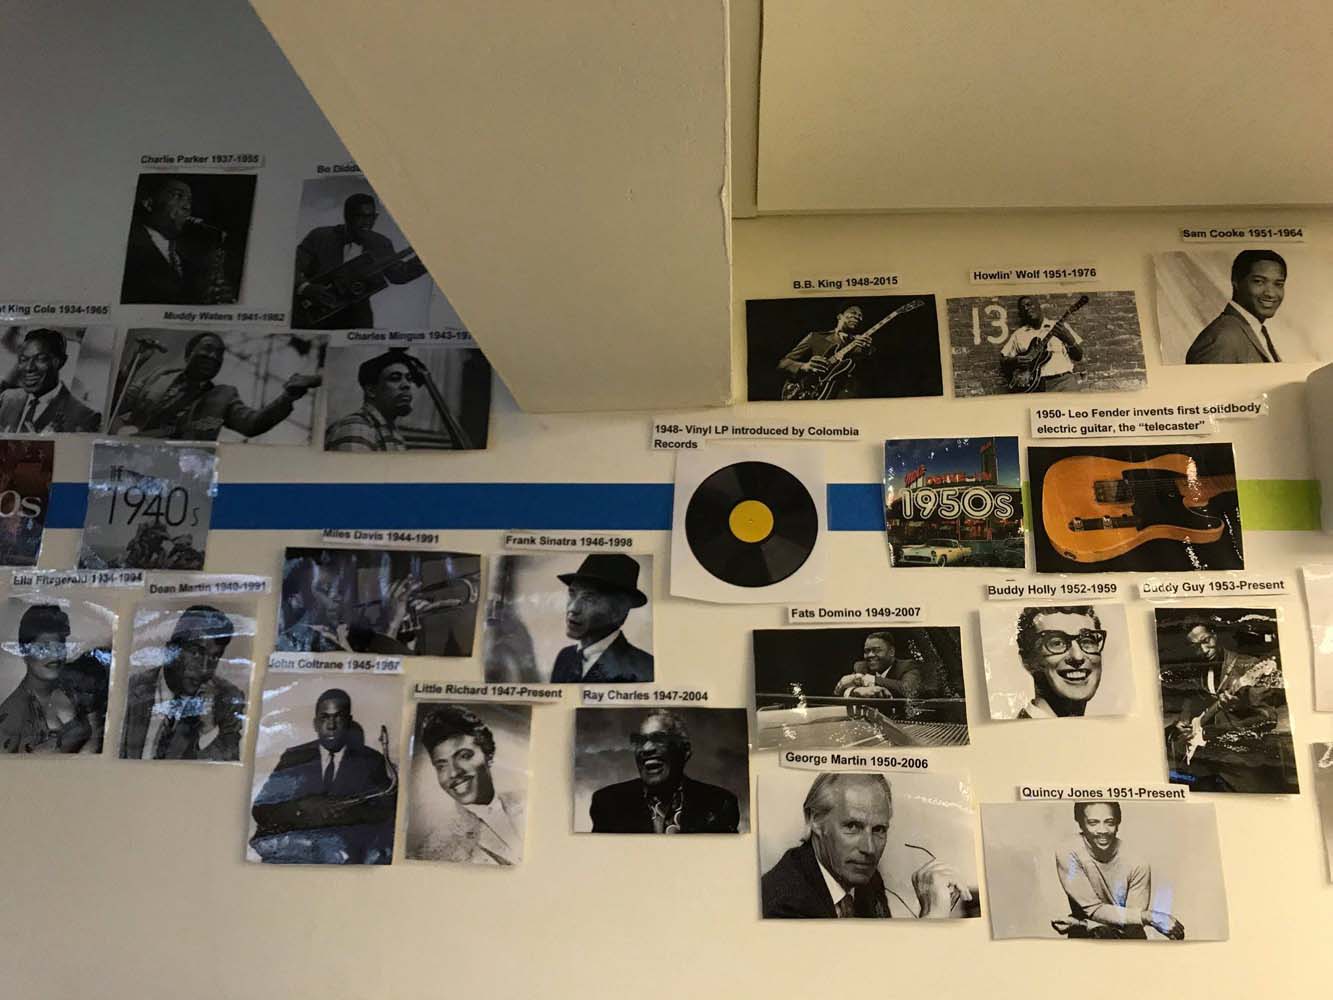
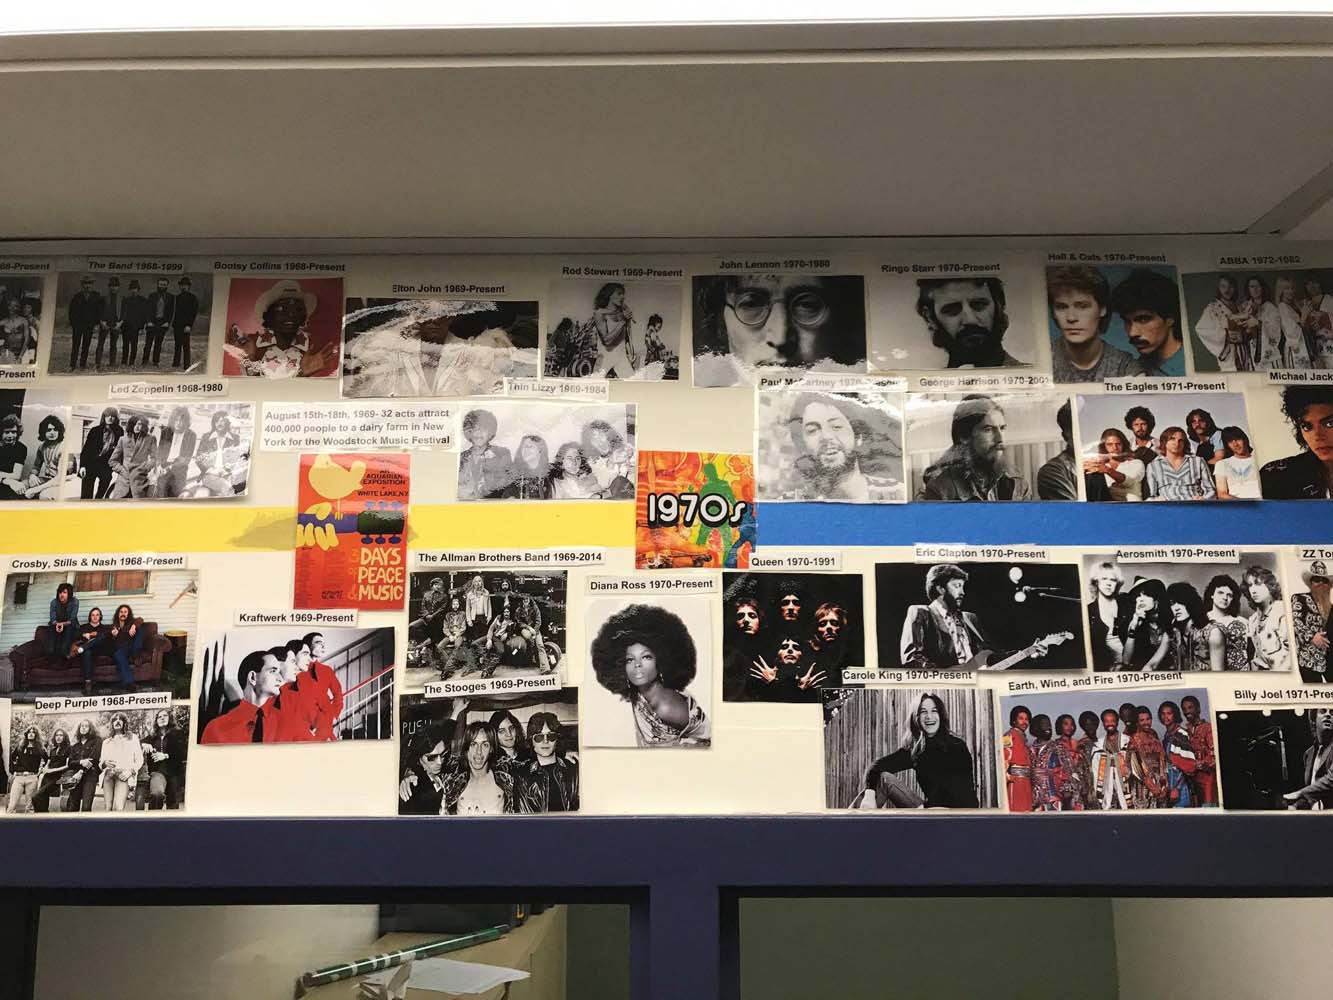
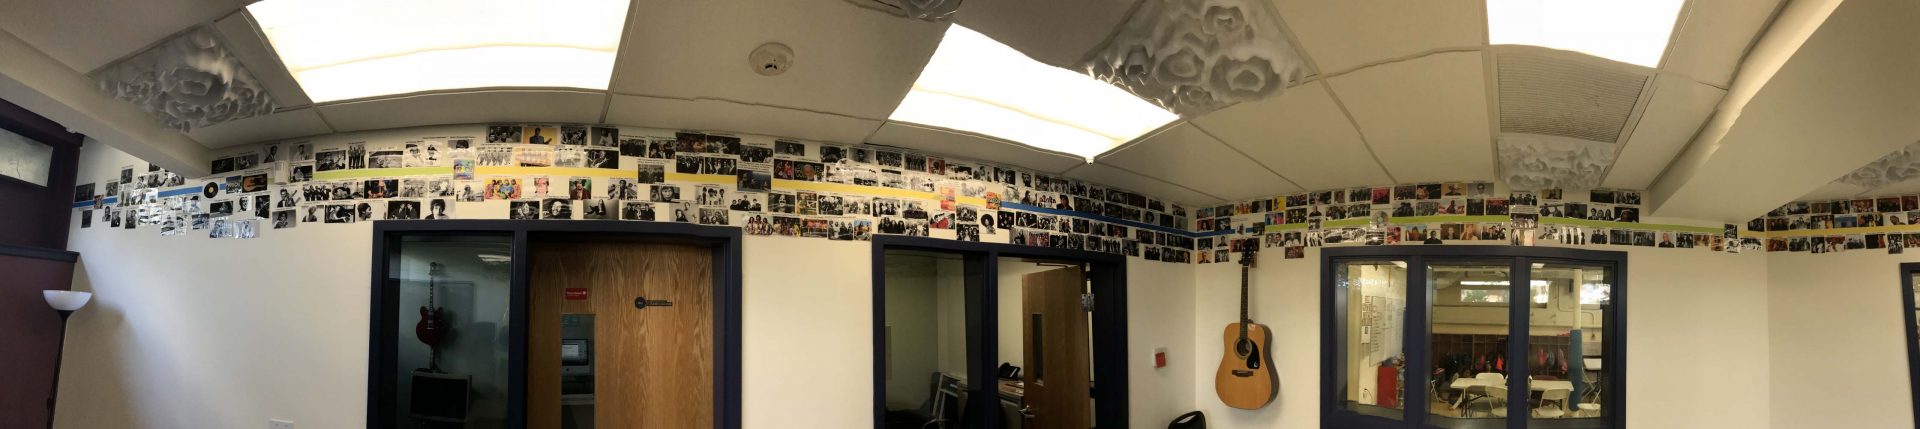
Time to update your facilities artwork with this collaborative Music History project
Let your participants take ownership of your music room by creating a full timeline of recorded music from the invention of the phonograph to the present day! Participants nominate and vote on the most influential or most iconic artist from each decade and assemble them into a chronological list. This is a great activity to expose teens to a ton of new artists; learn a lot about the history of music, and create some very cost effective artwork for your space
Read More
How to…
Select artists from all eras of popular recorded music
Have listening parties
Read bios
Watch YouTube videos
Copy and paste pictures from the different websites into a Google spreadsheet
Research each artist beginning and ending career dates
Let the participants nominate and vote on the artists that they think should represent each era or genre
Print full list of pictures, artist names, and dates
Cut each element out and arrange them on a laminator sheet
Once laminated, have groups cut out each element and try to match, rearrange, and order the timeline on the floor
While your group is hanging the pictures, have a group of teens curate a playlist on Spotify or YouTube for each artist’s five most popular songs
Use the different colors of tapes to define each decade of artists
Find major music events throughout popular music to tape directly onto the middle of the timeline colored tape
Continually update the timeline
Optional – include your participants in the timeline as well as a fun and motivational bonus!